Early IndyCycle Pics
From 1996 to 2001 I taught at a private special education school in Baltimore City. As part of a design study, the students there helped to build the wooden shell for the front of the IndyCycle. We started by
tracing the cross-sections of the body panels onto plywood, cutting them
out and fastening them to a plywood base. Then we began gluing 1/4"wooden
strips to these "bulkheads". 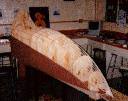 as you can see, the design started taking shape
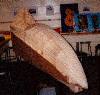 as more and more strips were glued on.
Once the wooden shell was complete, the students covered it in plastic so they could make a paper-mache' copy
of it
the students covered it in plastic so they could make a paper-mache' copy
of it 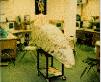 to see what it will look like when painted
  and mounted on the frame
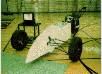 at an upcoming technology fair that the school puts on every year.
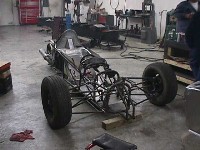
Meanwhile, I was working with Rob to build the frame for the IndyCycle. We used the same method of fabricating that he uses to build his Dragsters. To give you some idea of how strong his frames are, one of his customers once rolled (tumbled sideways, that is) his rail job at around 150 mph, and walked away from it. The driver was slightly shook up, but the dragster only sustained damage to the suspension and engine cradle.
The roll cage was a little dented and scratched, but otherwise intact. The dragster's suspension and engine cradle were rebuilt, and is probably racing today.
We used chromoly for all of the frame and suspension pieces, resulting in a frame and suspension that is easily 1/3 the weight of the original Vehicle's.
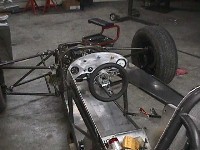
We built the front suspension and mounts first, so the geometry would be correct.  Then we welded the suspension carriers onto the frame, checking the geometry all the time...
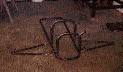
The next step was to put in the seat bars and upper frame bars. 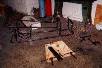 After that, things went pretty smoothly. Well, okay.. I did goof up on the geometry a little, but it was fairly quickly fixed. Long story short, the front framework and suspension was completed and attached to the donor bike, just in time for the Tech Fair!
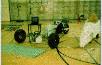 .
So, the students were able to put the paper-mache' body on it for the Technology Fair!
.
So, the students were able to put the paper-mache' body on it for the Technology Fair!
Well, all that was back in the spring of 1997. Over the summer I worked on the steering, shifting, brake, gas and clutch linkages and control systems. Again, keeping the weight down by using the same methods used to build dragsters.
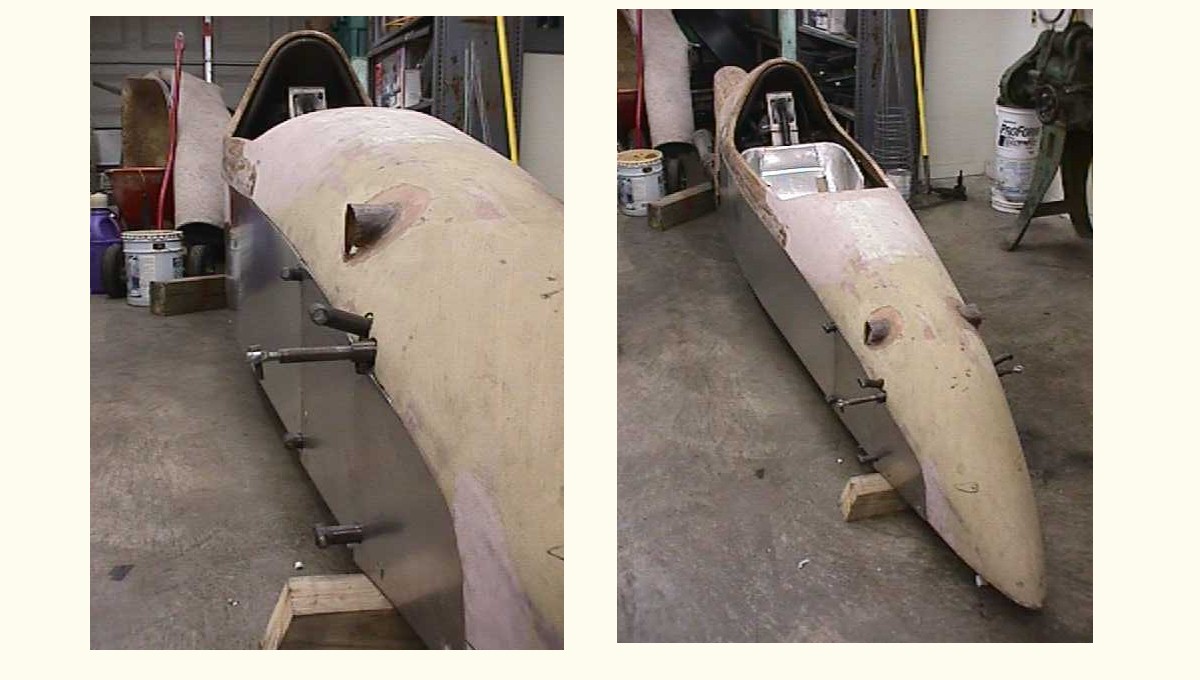
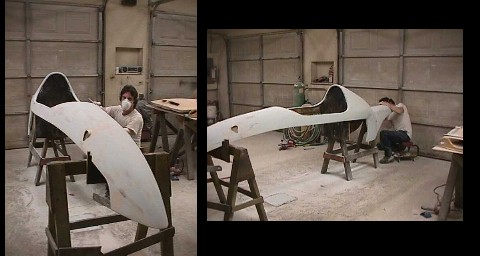
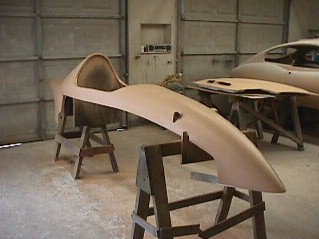
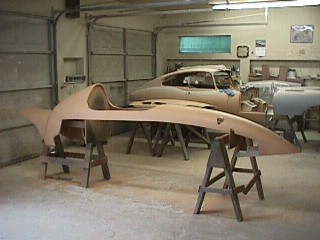
I brought the wooden shell to Rob's shop in
the fall to start shaping it for fiberglassing. At the time, I had very little experience with fiberglass, but have learned volumes about the stuff since then.
I sanded and 'glassed the body, covering it with both matt and cloth. It was shaped, ultimately, by Rob himself, becoming more than just a wooden shell.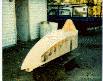
Then it was time to make the back end.
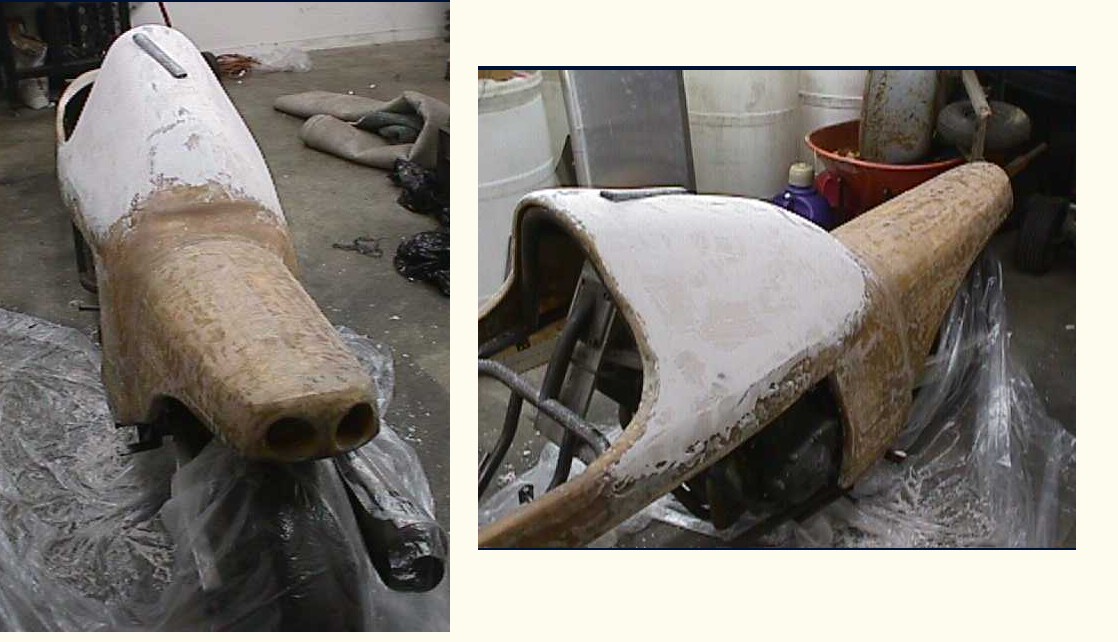
I set up the front bodywork exactly as I wanted
it to be when it was mounted on the frame. Then, I used Polyisoicyanate Foam (also known as your normal everyday foil-backed insulating construction foam - available at any hardware store) taped together on the inside to
shape the rough design of the rear end.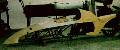

After joining the panels a little more permanently
together with spray-foam insulation (yup, also available from hardware stores), I shaped the rear end with coarse-grit sandpaper, then fiberglassed it all over, including the inside.
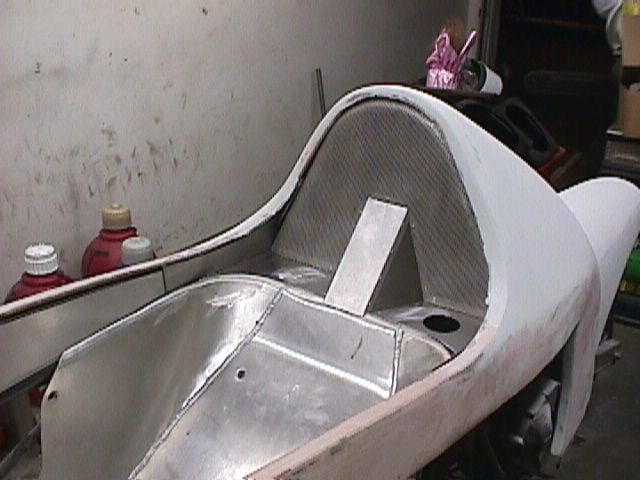
This last step of fiberglassing took a long time, but hardly any compared to smoothing the back end with body filler. I did the rough work, but when it finally came time to finish the surface, Rob's brother Keith (of K&R Auto Repair) did the skim coat.
Picture from the May '98 Tech Fair
Okay, so it is a little grainy.. well, they get better...
Other than fabricate the aluminum side panels (and making a few mistakes in the process), not much changed between then and August 1998.
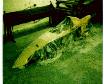
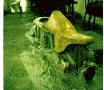
Over the summer, I started using body putty to smooth out the rear and make the overall contours smoother. I have been told that of amount of putty that is first put on, about 90% ends up coming off. I believe it! Here's a shot of the rear of it as the mud started going on...
...yet more rear mud...
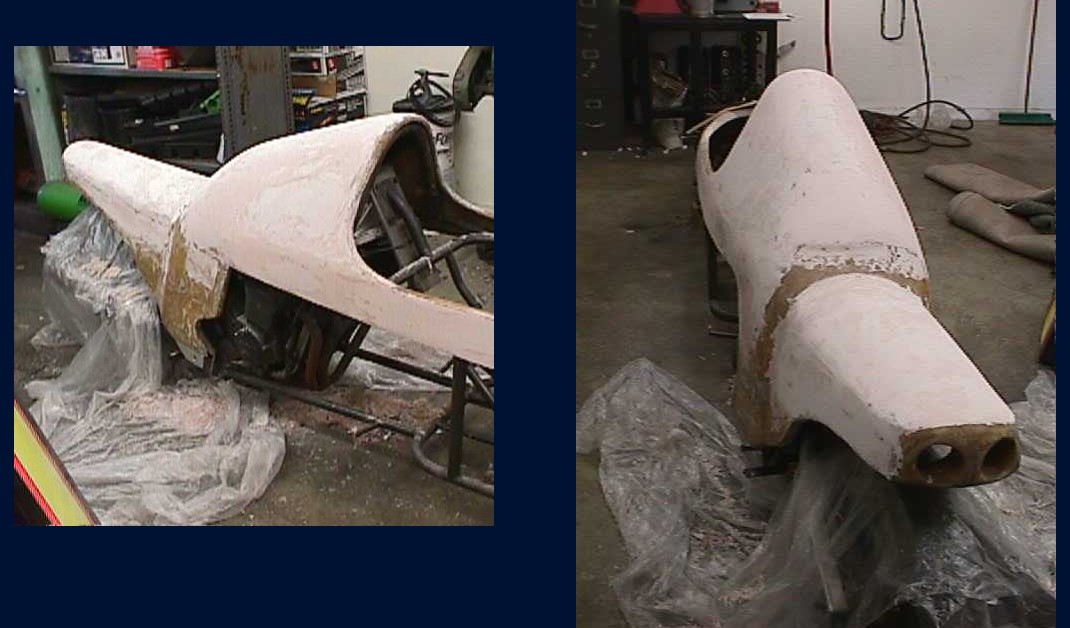
After that it cured for a few months while waiting for the final skim coat and primer.

Check out this metalwork behind the driver's seat - pretty cool, eh?
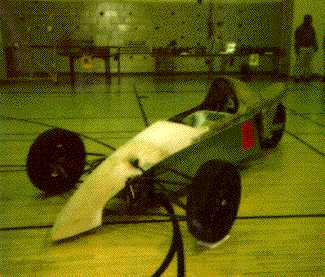
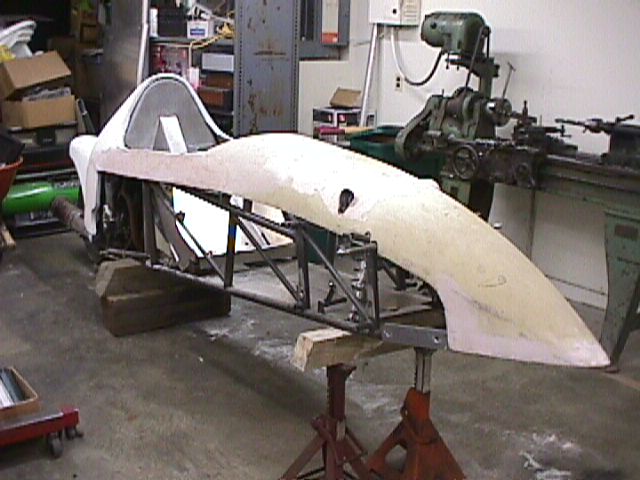
As the 1999 Technology Fair drew near, I assembled the IndyCycle frame at Rob's Shop. Nothing was painted at this point.
In mid april, Keith of K&R's (Keith & Rob's) Auto Repair in Glen Burnie, MD began working the final skim coat onto the body.
 These guys do amazing work on almost anything you can imagine!
home - links
- media - history
- tech data - plans -
guestbook
 as you can see, the design started taking shape
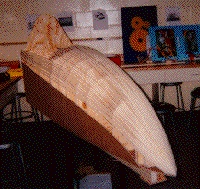 as more and more strips were glued on.
 the students covered it in plastic so they could make a paper-mache' copy
of it
the students covered it in plastic so they could make a paper-mache' copy
of it  to see what it will look like when painted
  and mounted on the frame
 at an upcoming technology fair that the school puts on every year.


